On Saturday, October 19 we began our first attempt at bead making at a local
glass studio. Prior to our arrival we researched different kinds of Viking glass bead shapes, colours, and designs by reading various articles and watching
several YouTube videos. We intended to mimic, to the best of our abilities, the
techniques and materials used by the Vikings. However, due to time and material
constraints, we knew that there would be some discrepancies. Here is a video of
Viking bead making at Ribe with the appropriate clay furnace and traditional methods (the commentary is not in English, sorry!):
Here is another short video showing bead making over an open clay furnace (this is exactly how we made our beads, except with a torch):
The main difference between traditional Viking bead making and our approach is our use of torches instead of a clay furnace. This is due to time constraints, as making a clay furnace would be an experiment in and of itself and none were readily available for us to use. Other minor discrepancies include the composition of the clay we utilized, our use of stainless steel mandrels instead of iron mandrels, and our cooling process. Vikings would have cooled beads by annealing them, which involves keeping the beads in the front of the furnace to cool slowly over many hours. This would prevent the beads from cracking and would also strengthen them (Renart 2013). Other than these differences, we have mimicked as closely as possible the techniques and materials used by the Vikings.
 |
| Viking bead shapes from Gotland, Sweden. Carlsson 1997. |
We booked the studio from 10am to 1pm. The studio provided all the tools, including: a propane torch, wood block and clamp, a 5mm glass block (to set the hot glass rods on), clay coating (bead release), safety glasses, stainless steel mandrels (varying in size), a fibre blanket, a BBQ lighter, various shaping tools, glass rods, and glass stringers [see pictures below].
This session was dedicated to gaining familiarity with the materials, techniques, and Viking bead shapes and designs. We used examples of Viking bead shapes found in Gotland (Left) and Ribe to try and make during this first session. We also experimented with simple designs, such as dots and lines. Our next session will focus on replicating examples of Viking beads encountered in our research.
Our process was as follows:
- We began by preparing the mandrels, dipping them in the clay bead release. The bead release we used is called "Super Blue Sludge" and it acts as a clay barrier between the glass and steel mandrel. We then had to wait approximately 10 minutes for the clay to dry.
- While the clay dried we chose our glass rods and stringers (smaller glass rods, often used for design work), trying to base our colours on common Viking bead colours.
- We then turned on the propane torches, using a BBQ lighter.
- We began the actual bead making by heating the clay mixture on the mandrel by passing it through the flame a few times until the clay turned brownish in colour.
- Next we heated the glass rod by passing it through the upper part of the flame in a downward- diagonal motion several times. We heated approximately 5-6 inches of the glass rod to avoiding cracking.
- Once properly heated, we kept the end of the glass rod in the upper part of the flame, rotating until a nice bulb formed at the end of the rod.
- Once properly melted, we held the mandrel horizontally beneath the flame and dropped the molten glass onto the mandrel, ensuring that we spun the mandrel for even distribution. Glass was ready to be put on the mandrel when it had a taffy-like consistency, if it was not properly melted, it would not stick to the mandrel.
- When the desired amount of glass was on the mandrel, we utilised various methods and tools to achieve our desired shapes and designs. When shaping and applying designs to the beads, we ensured the bead was not in the flame, but underneath it. However, to prevent the glass from cooling too much, we had to periodically re-heat the bead.
- After the bead shape and design had been achieved, we pulled the bead out of the flame to let it cool for 30 seconds. It was then placed in the fibre blanket to cool for several hours.
- Once the bead was cooled, it was slipped off the mandrel. This concluded the bead making process.
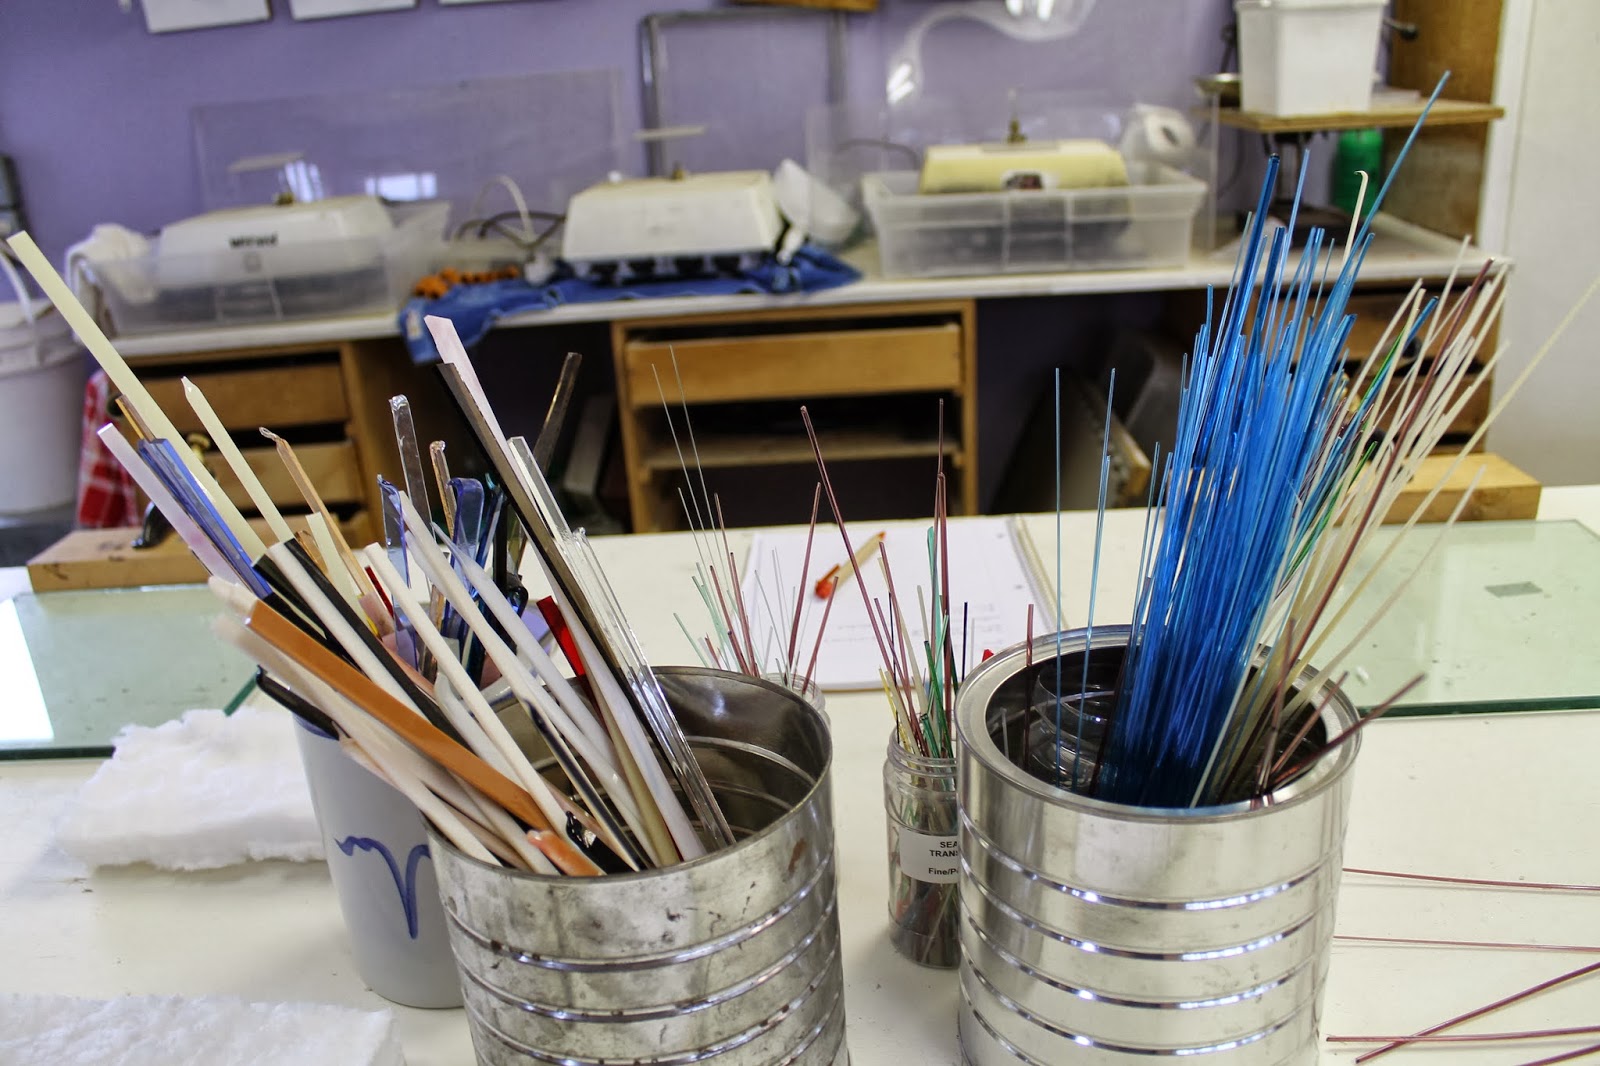 |
| Glass Rods and Stringers |
 |
| Shaping Tools and Lighters |
 |
| Clay Bead Release and Mandrel |
 |
| Propane Torch, Wood Block, Glass Block, Clamp, Safety Glasses and Fiber Blanket |
 |
| Mandrels Dipped in Clay Bead Release |
Some photos of us making the beads:


Some of our finished beads:
 |


Our next bead making session will take place on Saturday, November 2.
Bibliography
www.scribd.com/doc/8493824/VikingBeads [Oct 6, 2013].
RENART, HL, 09/21/2013, Glass Beads of the Viking Age, Barony of the Dragon’s Laire.
Available: http://www.dragonslaire.org/articles/Viking_Beads_research.pdf [Sept 21, 2013]
-Angela, Emma, Krista, & Rose
No comments:
Post a Comment